This tutorial is designed to guide you through each step of the e-signature process, ensuring that you can send requests with confidence and ease.
1. Navigate to https://docs.vidsigner.net/
2. Click here.
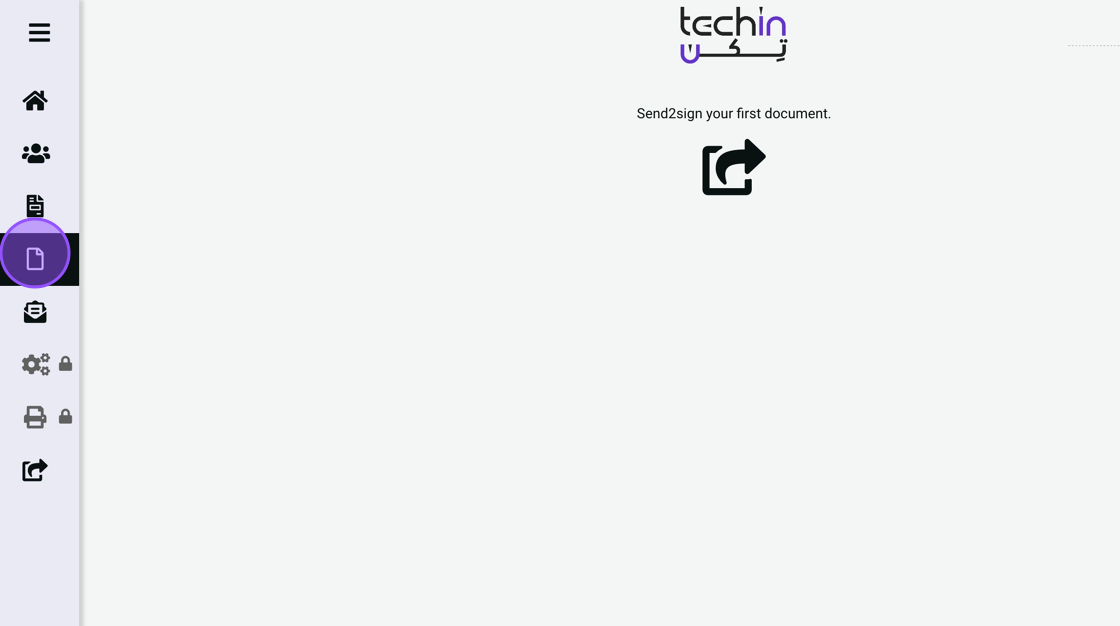
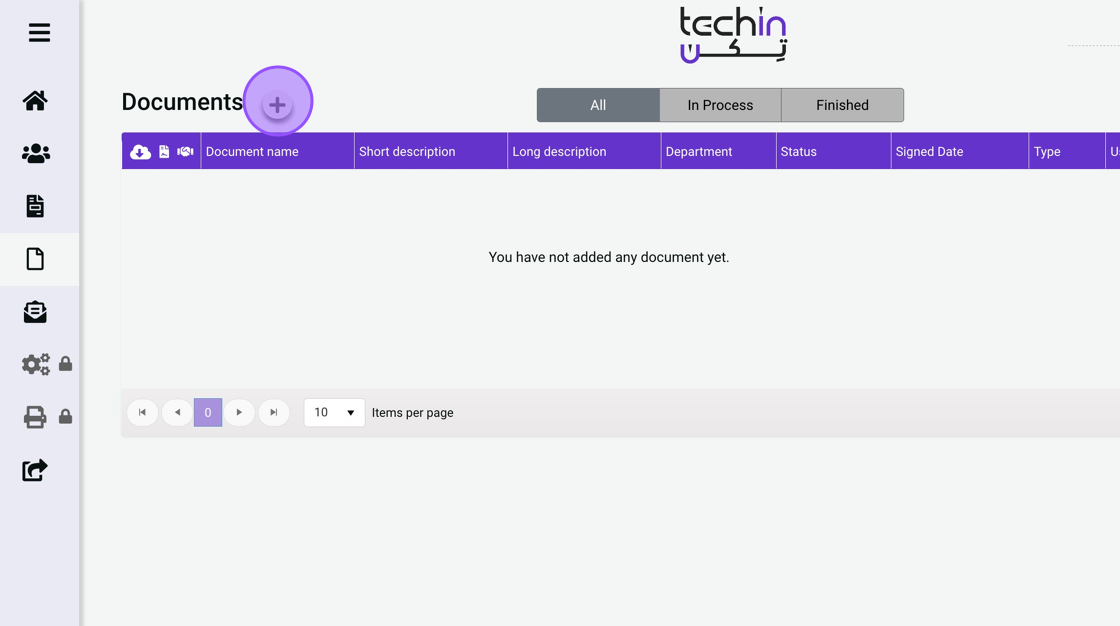
3. Click here.
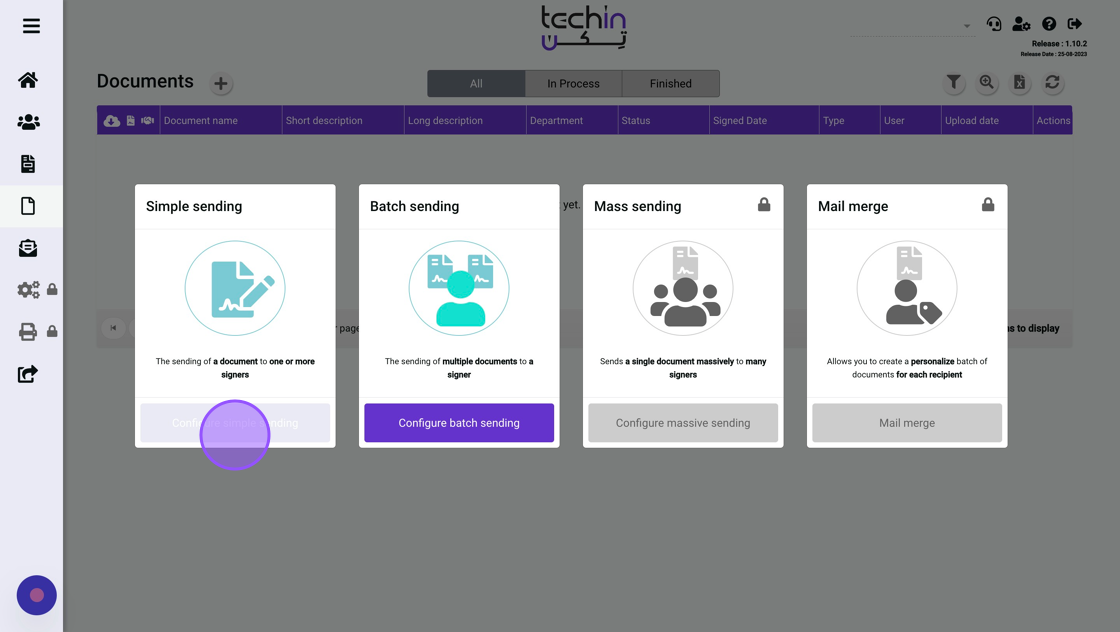
4. Click “Configure simple sending”
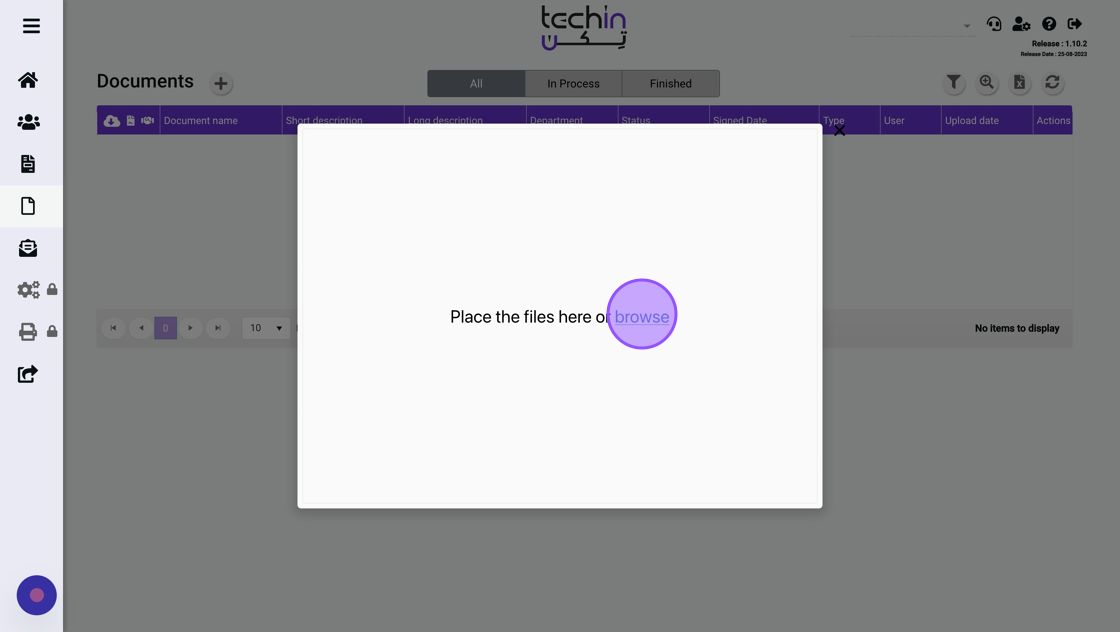
5. Click “browse”
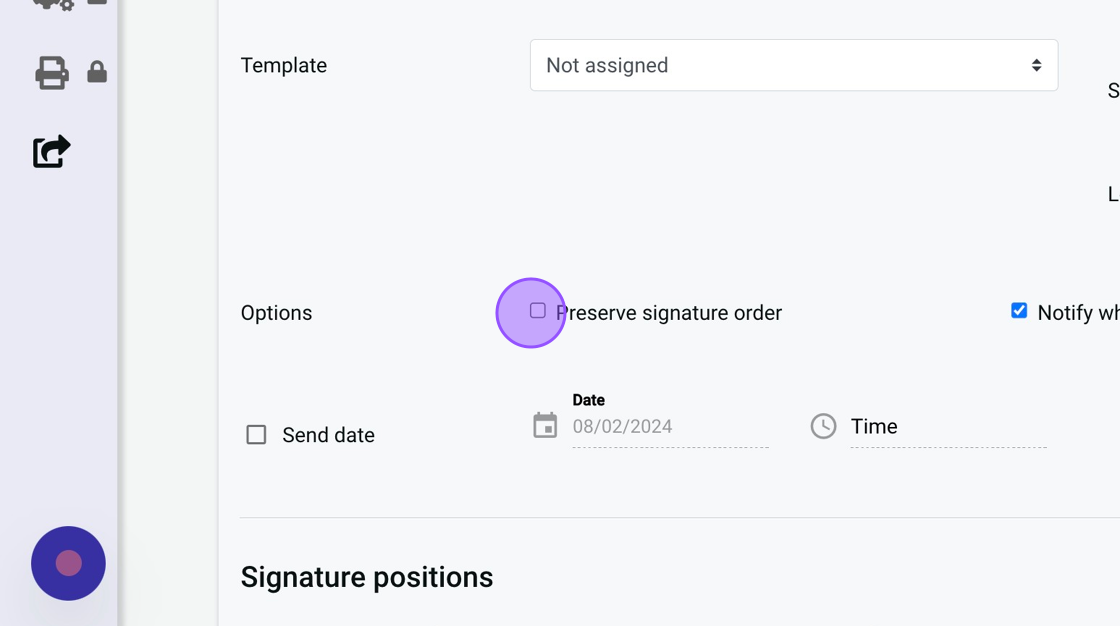
6. Check “Preserve signature order” box if your request encompasses this option.
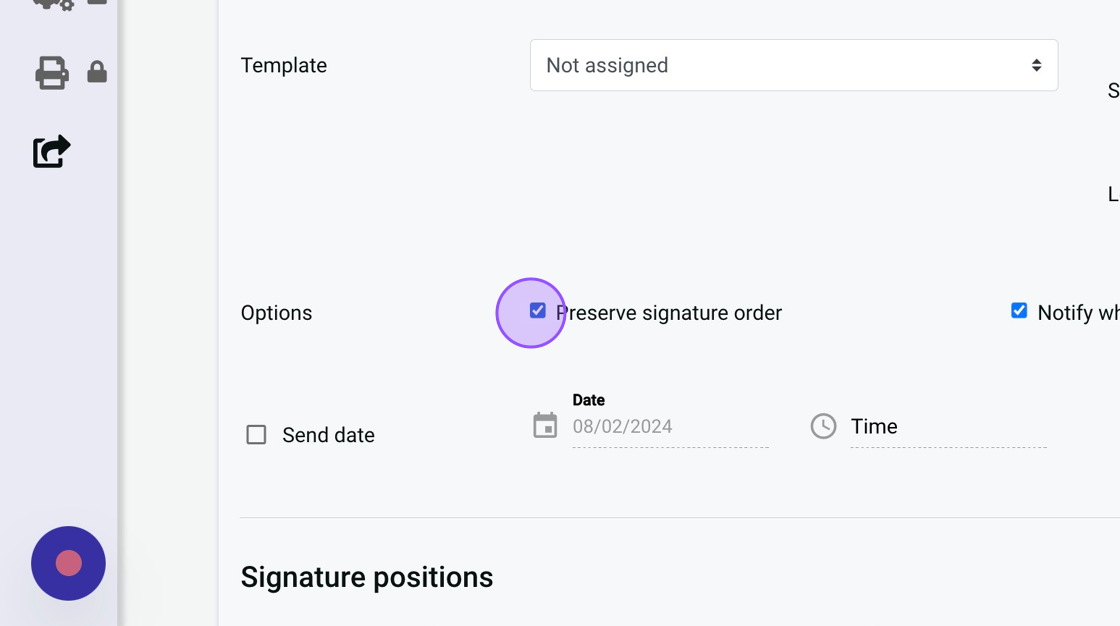
7. Check “Preserve signature order” box if your request calls for it.
8. Click the “Notify when the process has finished” box if it is applicable to your request.
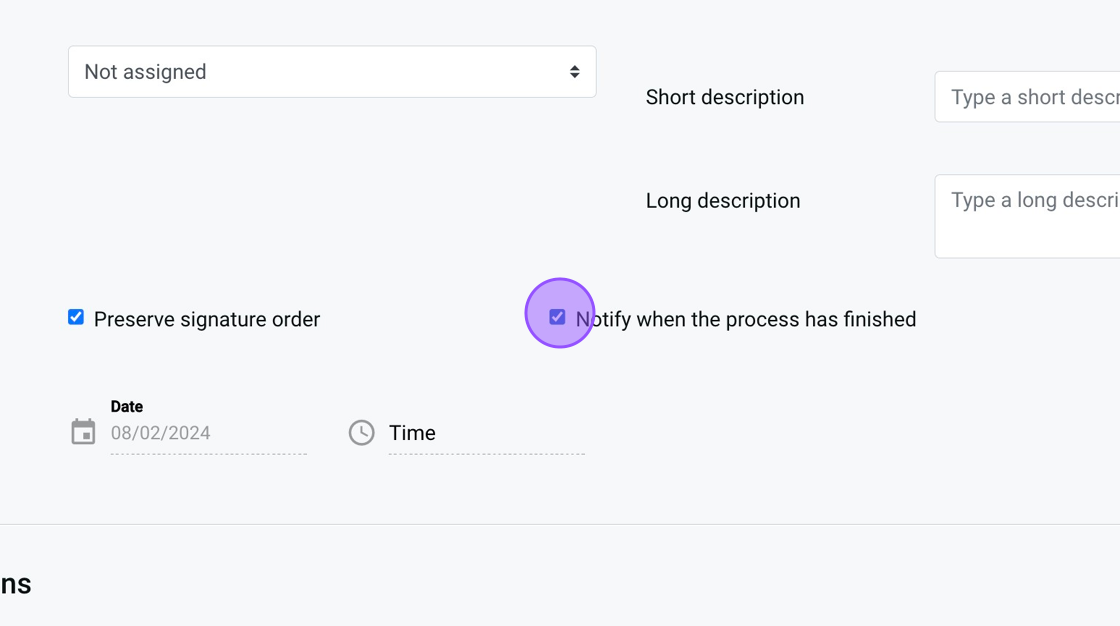
9. Should your request involve “Notify when the process has finished”, don’t forget to check the corresponding box.

10. Record the request details for enhanced clarity when revisited.
11. For Example “Demo For Debt Memo”
12. Type “وصف للعملية – proper discriptionof the sent item”
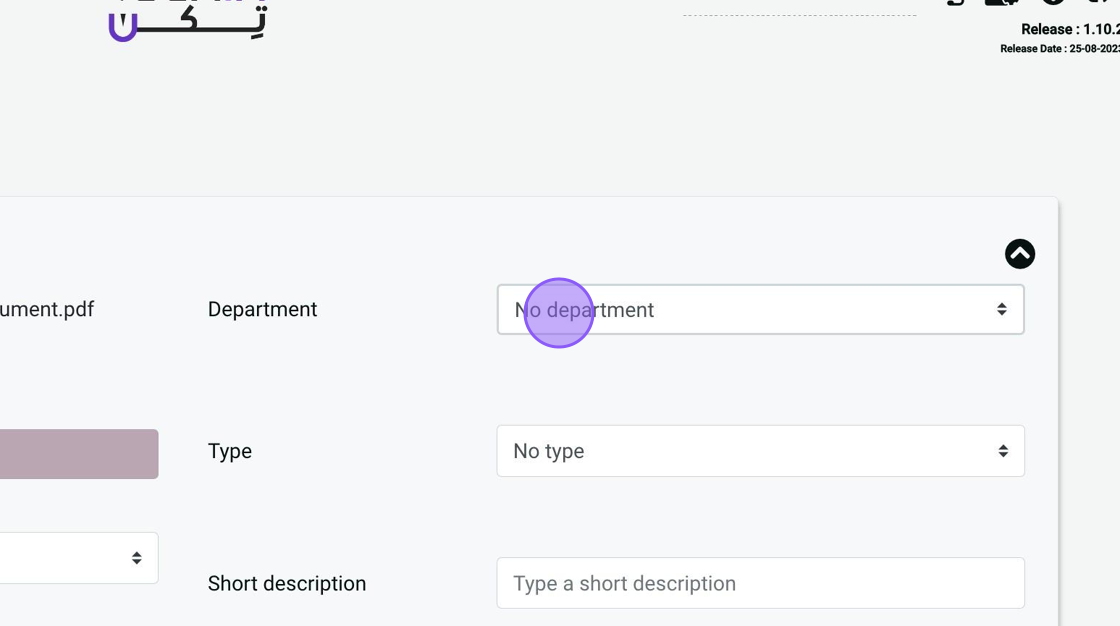
13. Click here.

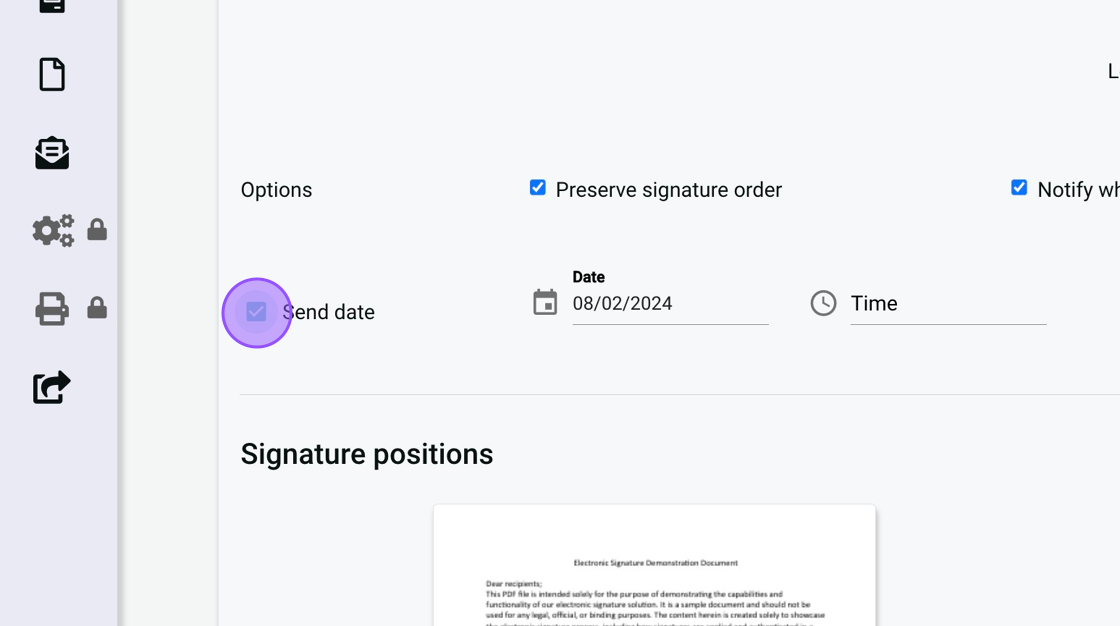
14. Select the send date.

15. If it is not planned to be sent immediately, then check the box.
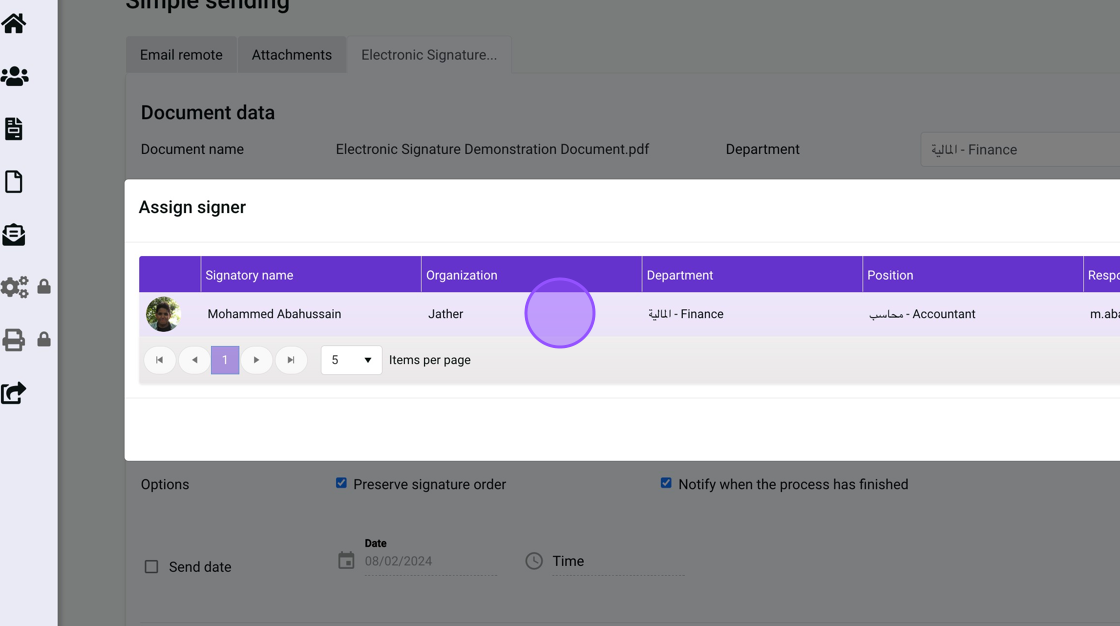
16. Add the the required signers
17. Select the signer.
Tip: You can send to multiple people at once.
Tip: You can set the order of the signers. For example, First the order will go to the HR personal. After that, it will be sent to the accountant.
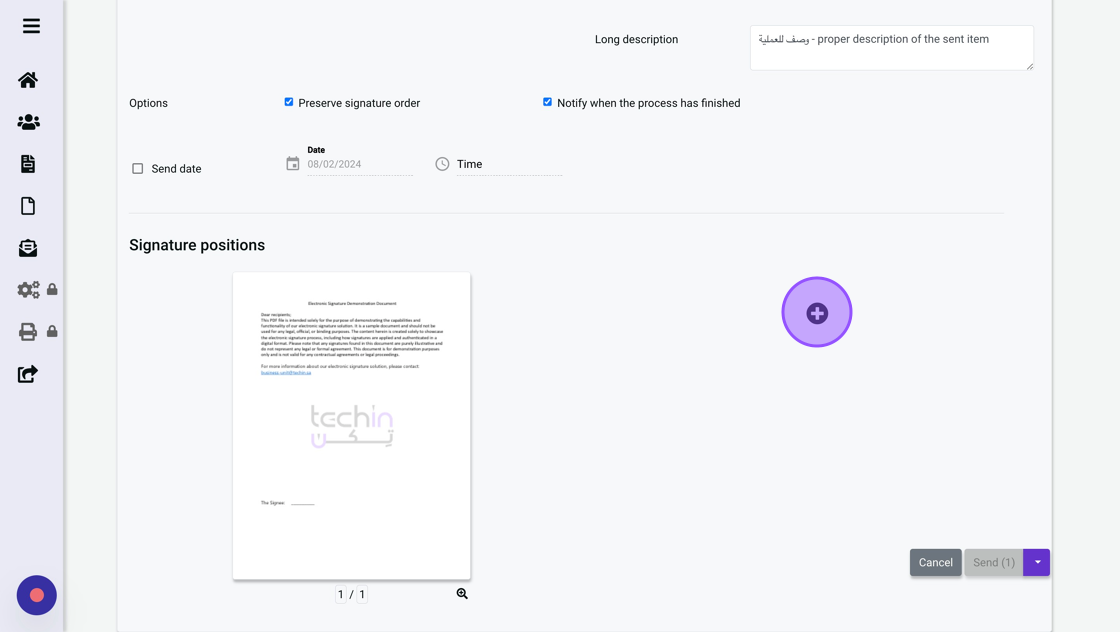
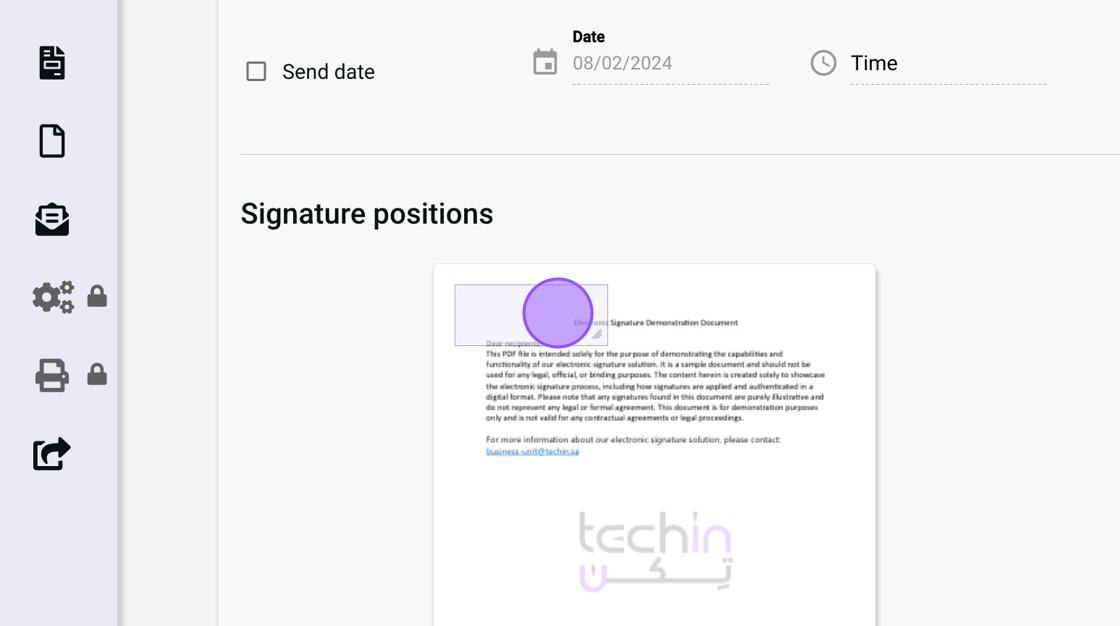
18. Drag the sign box of the signer, and drop it at the required position.
19. Click on “save” to secure the selected signers’ sign boxes with the options you have selected.
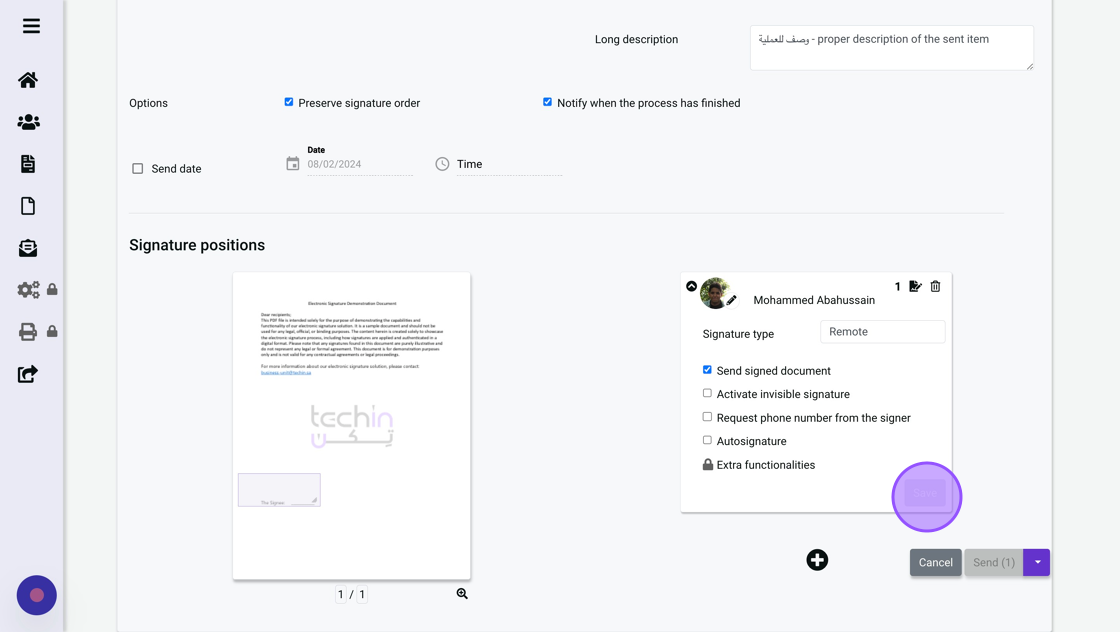
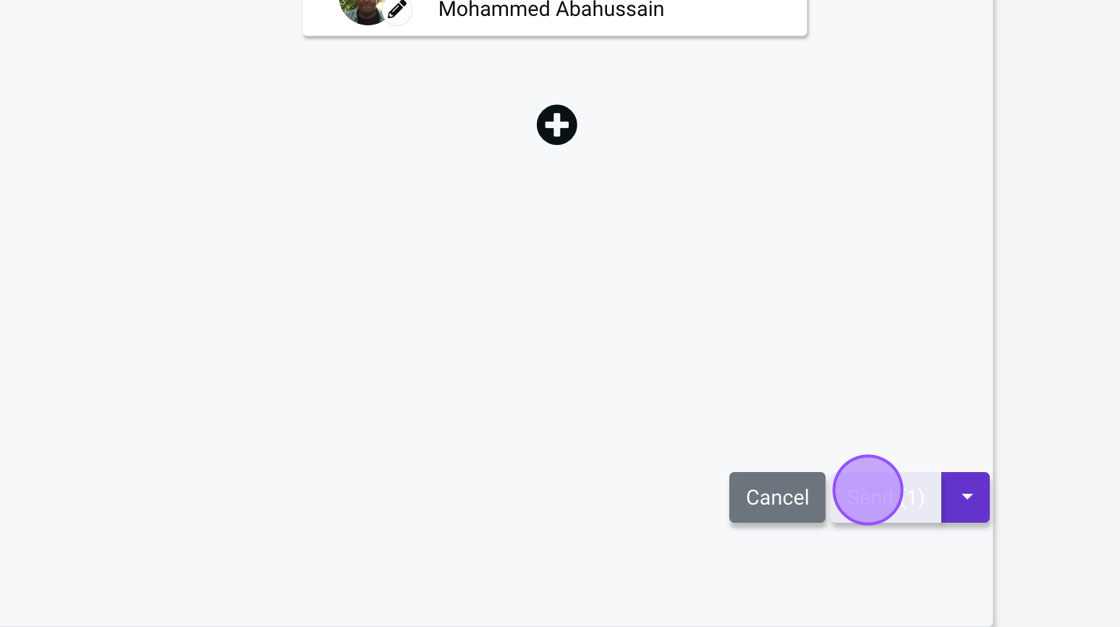
20. After confirming the e-signature request contains the correct information, press “send.”