Creating a Signer Profile
In the following sections, we will cover the step-by-step process of setting up a comprehensive signer profile. From selecting the right picture to inputting accurate contact and organizational details, we’ll provide you with all the necessary guidelines and best practices to make your documents more engaging, trustworthy, and effective. Let’s embark on this journey to elevate your digital documents by creating a signer profile that leaves a lasting impression.
1. Navigate to https://docs.vidsigner.net/
2. Login to your Account
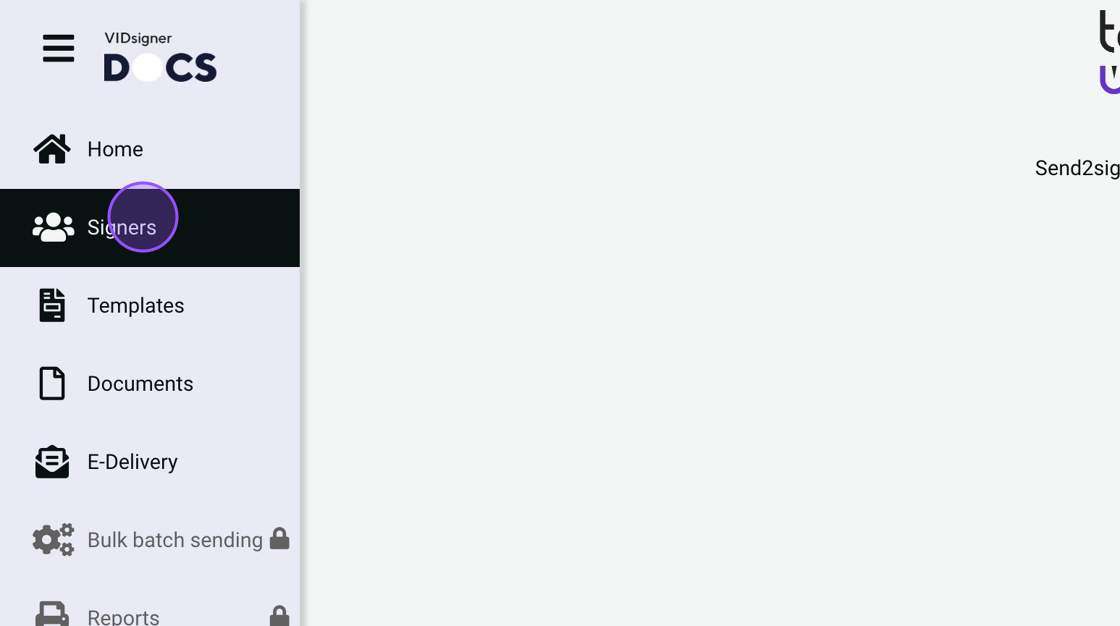
3. Click "Signers"
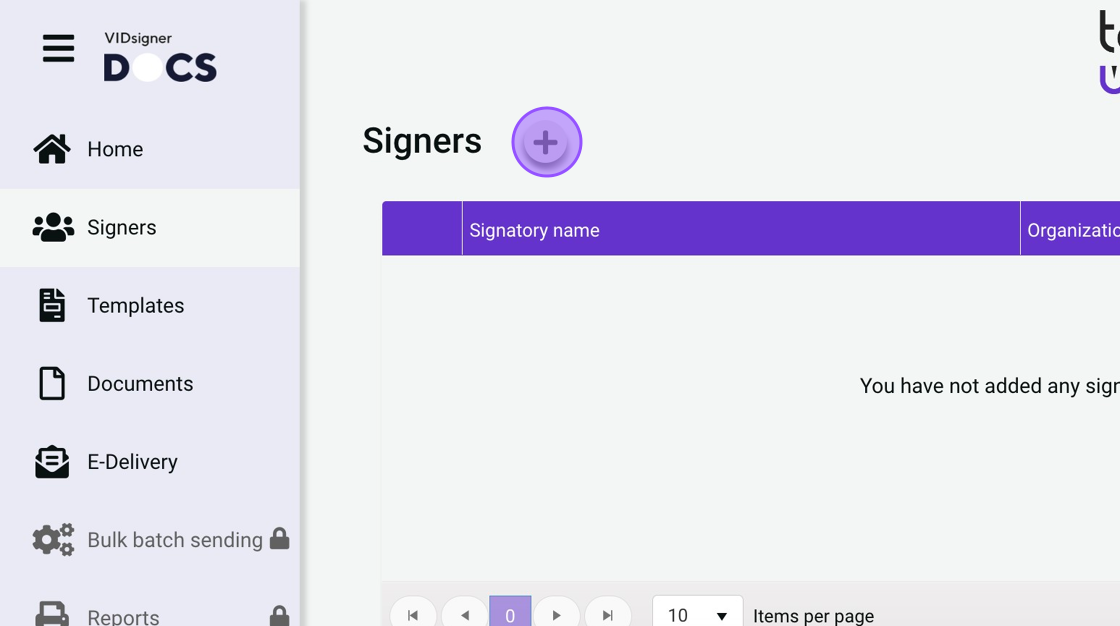
4. Click here.
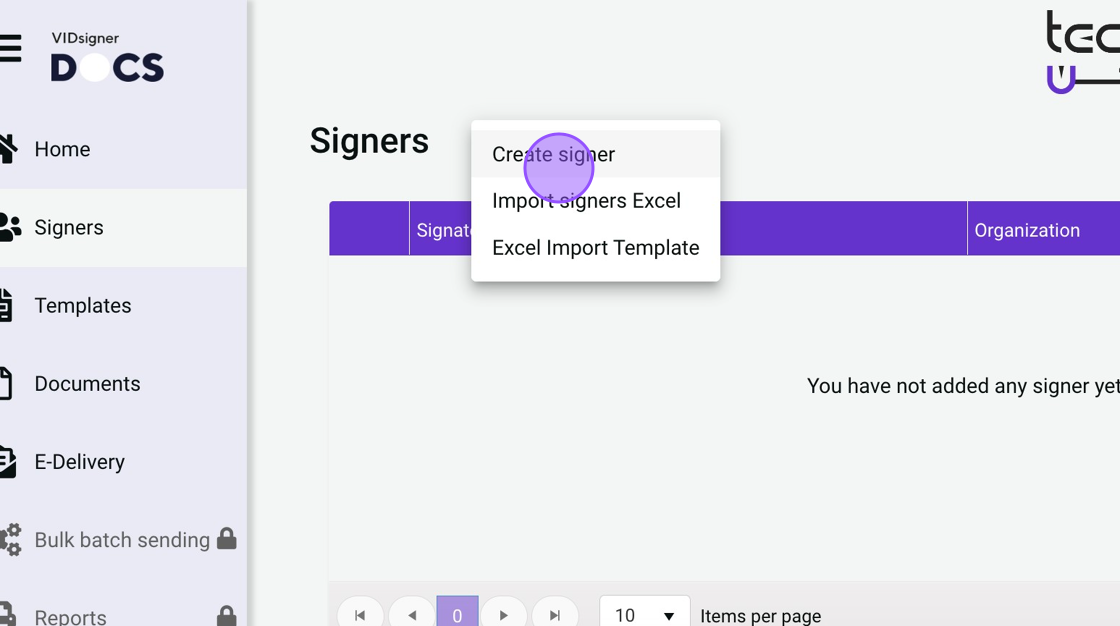
5. Click here.
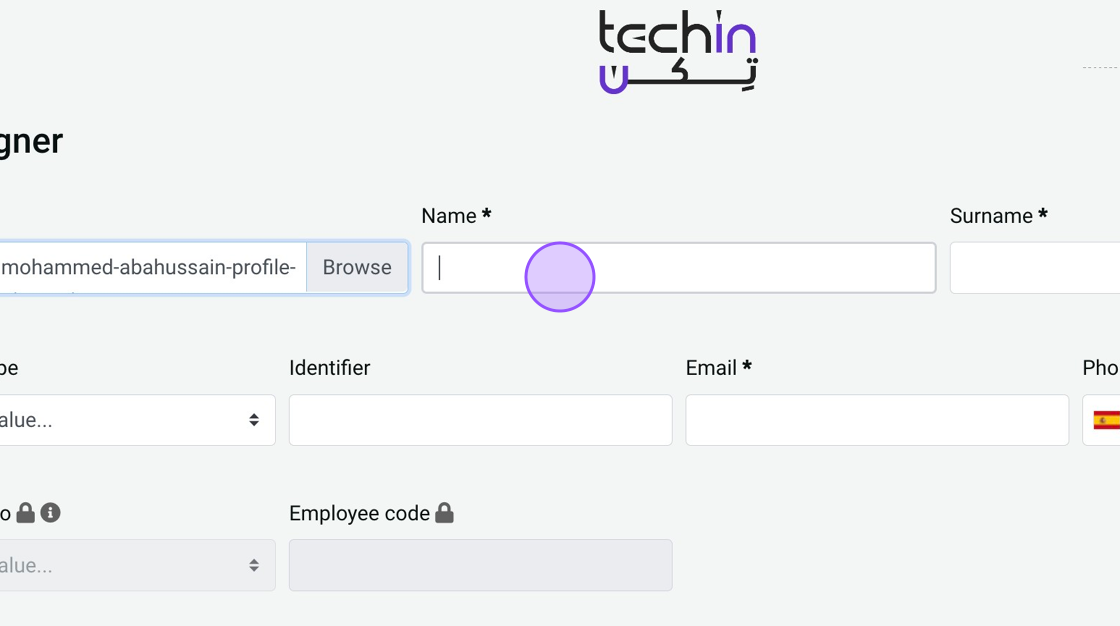
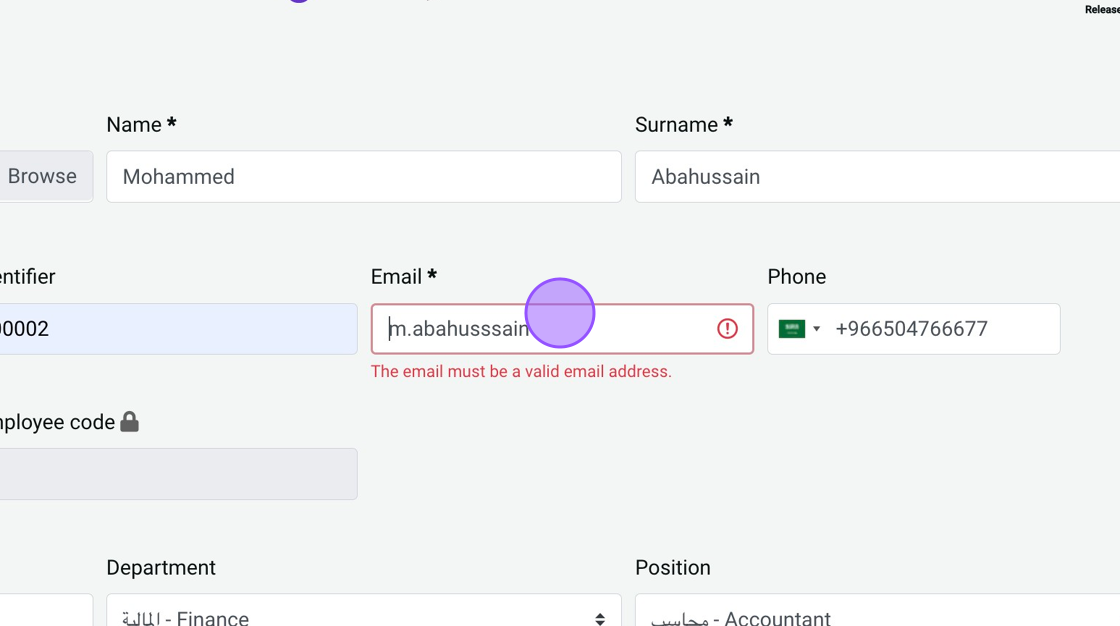
6. Add The Signer’s Profile Picture (Optional)
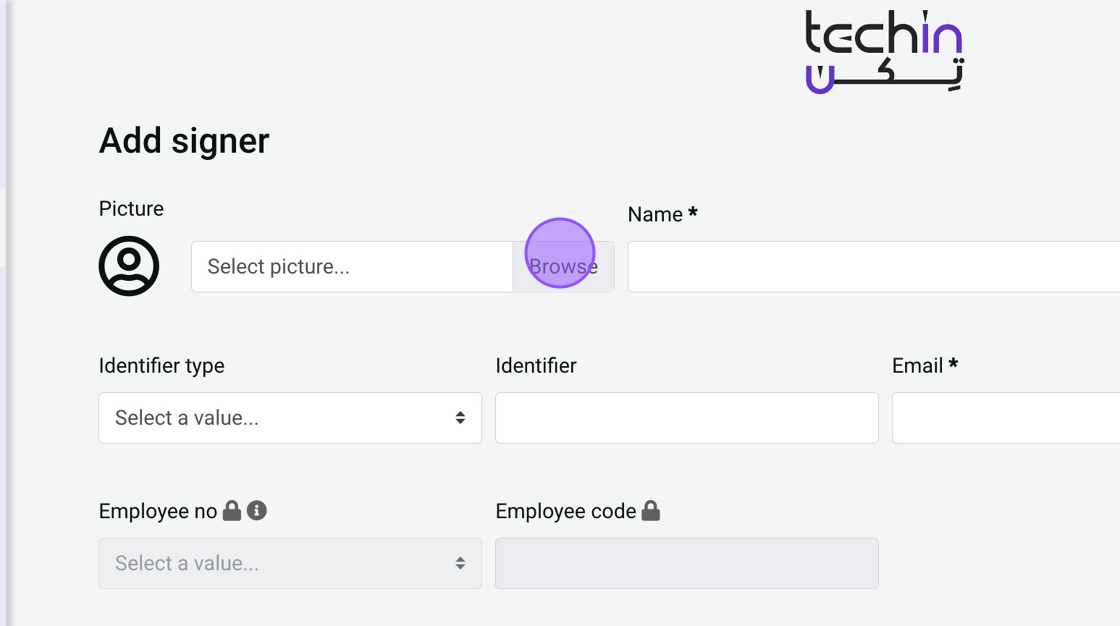
7. Add The Signer’s First Name (Required)
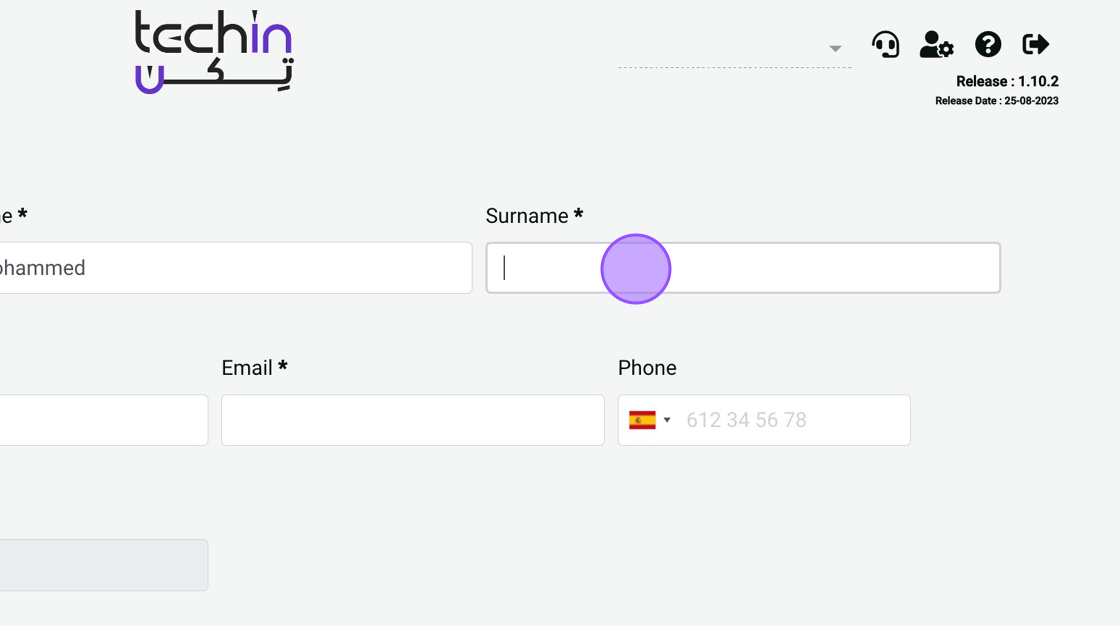
8. Add The Signer’s Last Name (Required)
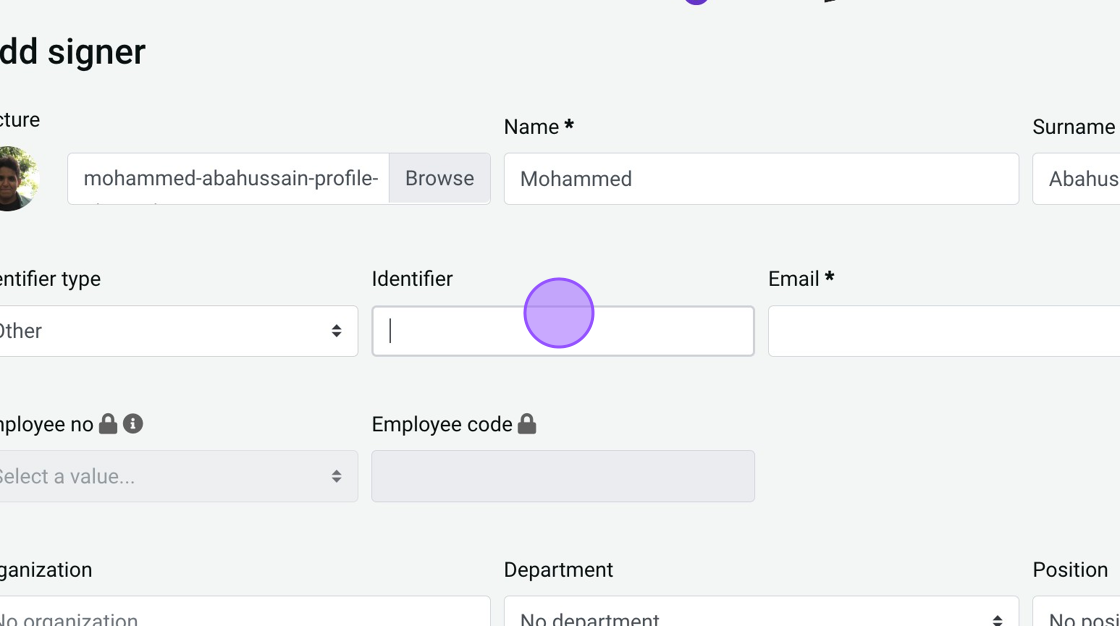
9. Select The Signer’s Identifier Type (Optional)

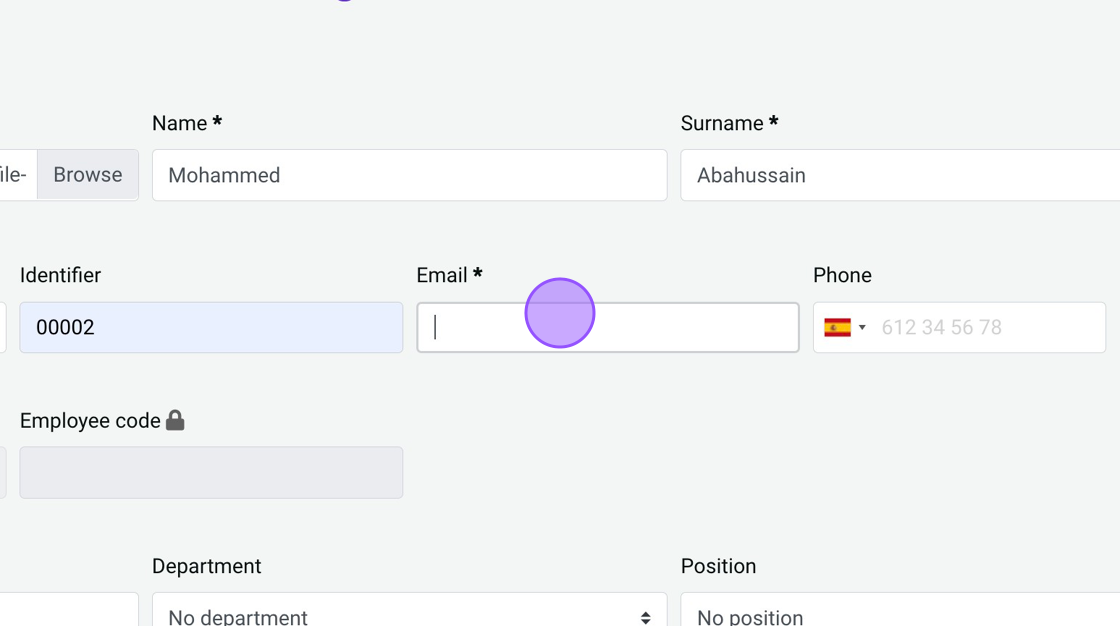
10. Fill The Signer’s Identifier (Required)
11. Add The Signer’s E-Mail (Required)
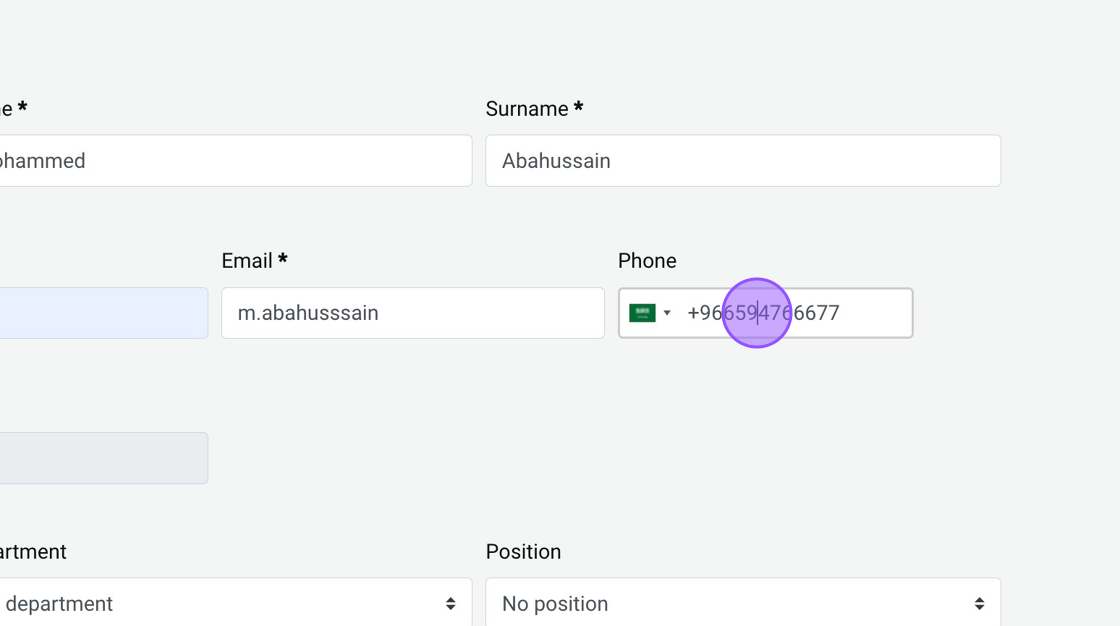
12. Add The Signer’s Mobile Number With The Country Code (Required)
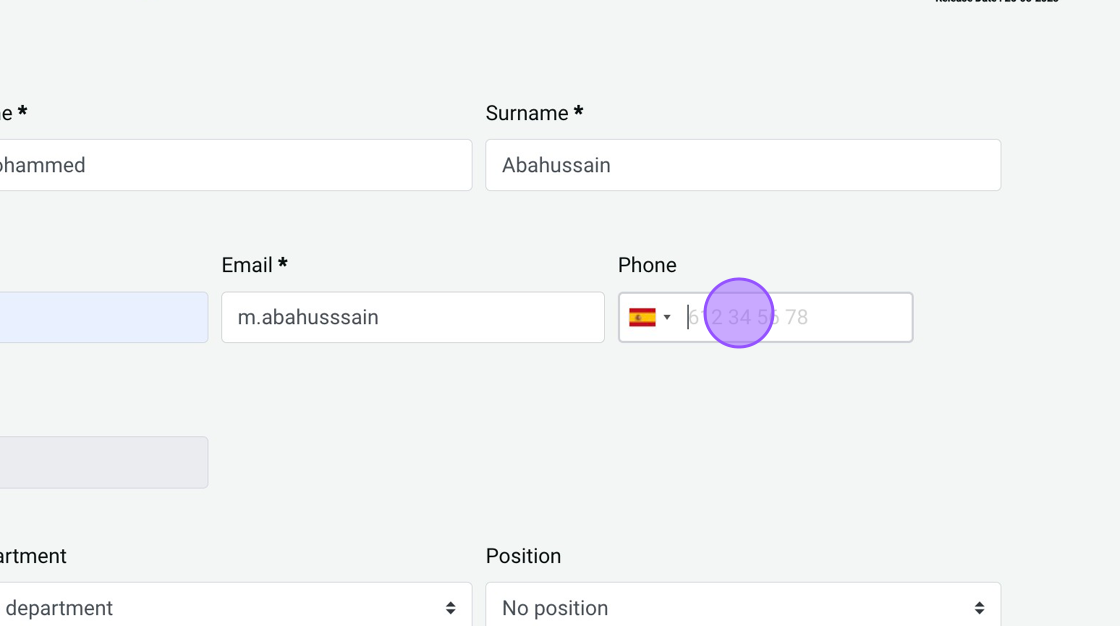
13. For Example "+966594766677"
14. Click the "Phone" field.
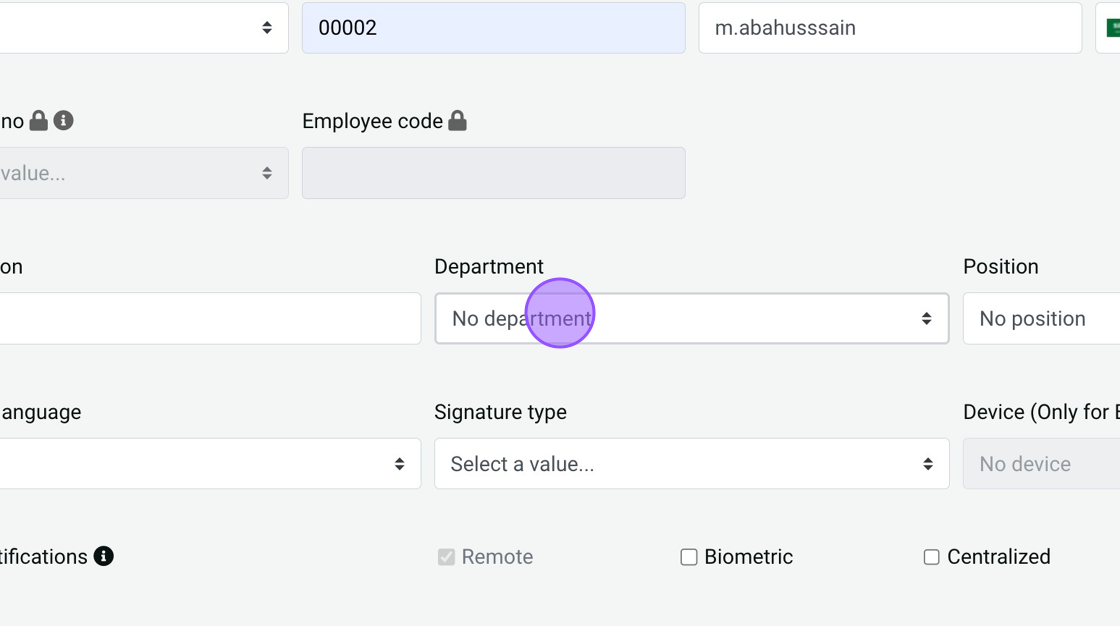
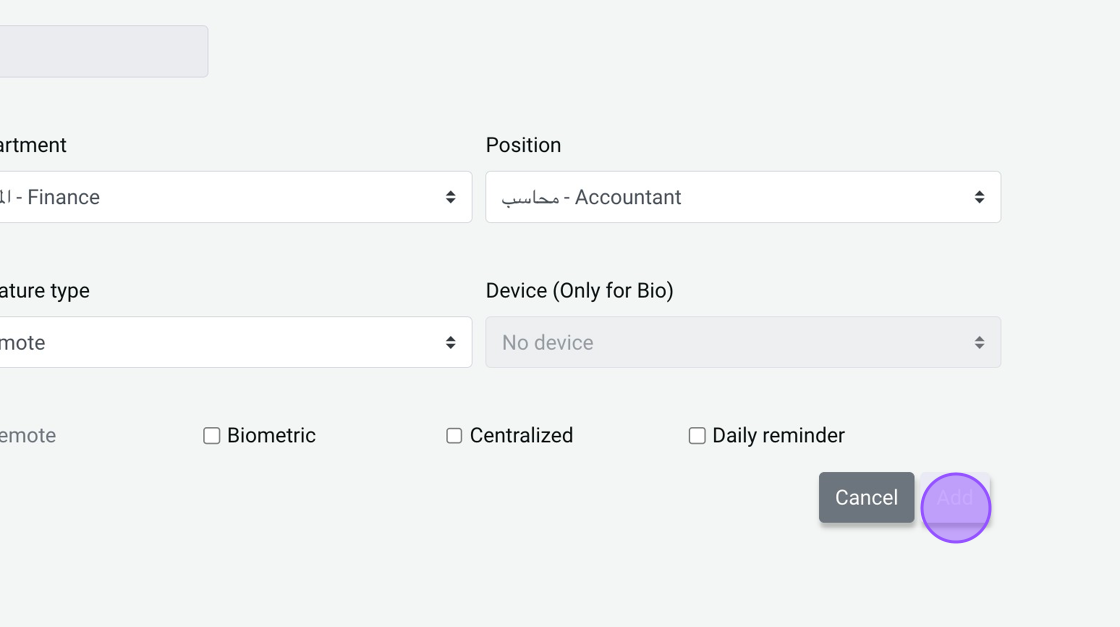
15. Select The Signer’s Organization Info (Optional) (Has To Filled From Different Screen)
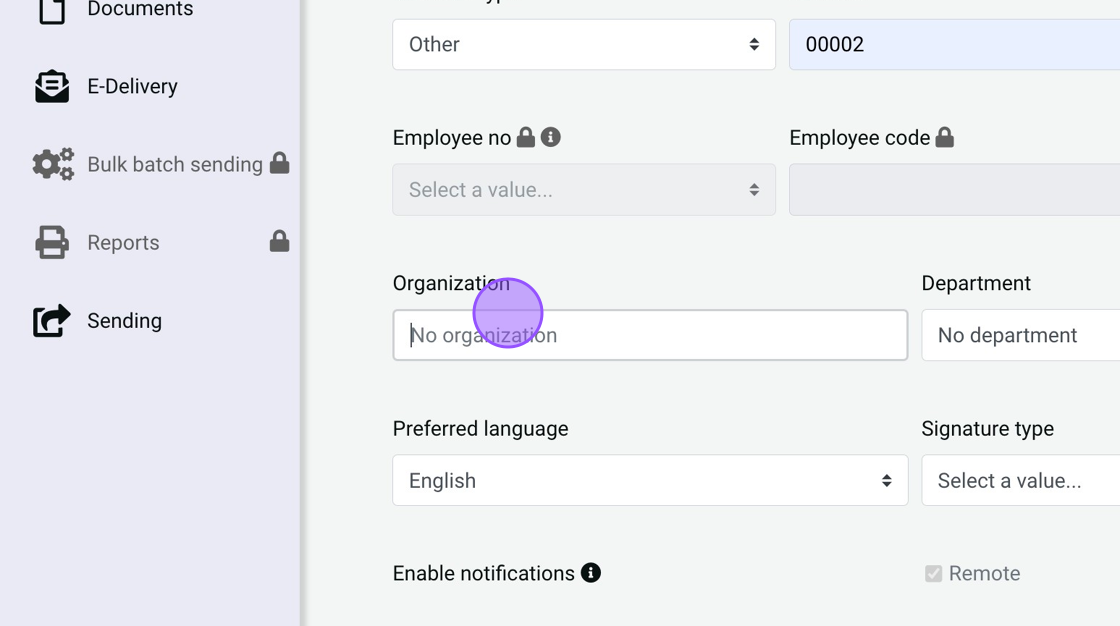
16. For Example ( Jather )
17. Select The Departments Of The Signer’s (Optional) (Has To Filled From Different Screen)
18. Check The Signer’s Info
19. Press Add and You Are Set To Send The Signer Documents To Sign.
You Are Set To Send The Signer Documents To Sign.
20. We extend our gratitude for your engagement with this guide. May your documents invariably resonate with the clarity, trustworthiness, and personal touch that a meticulously crafted signer profile bestows.